Categories
Desserts Recipes

Eton Rifles Mess

Sup up your beer and collect your fags,
There’s a pick your own farm down near Slough….

Ok, well maybe those aren’t quite the opening lyrics of the classic song written by Paul Weller, The Eton Rifles. However, this time of year means strawberries in the fields, summer days spent picking the juiciest and ripest to fill your punnet, and making them into that seasonal classic dessert, Eton Mess.

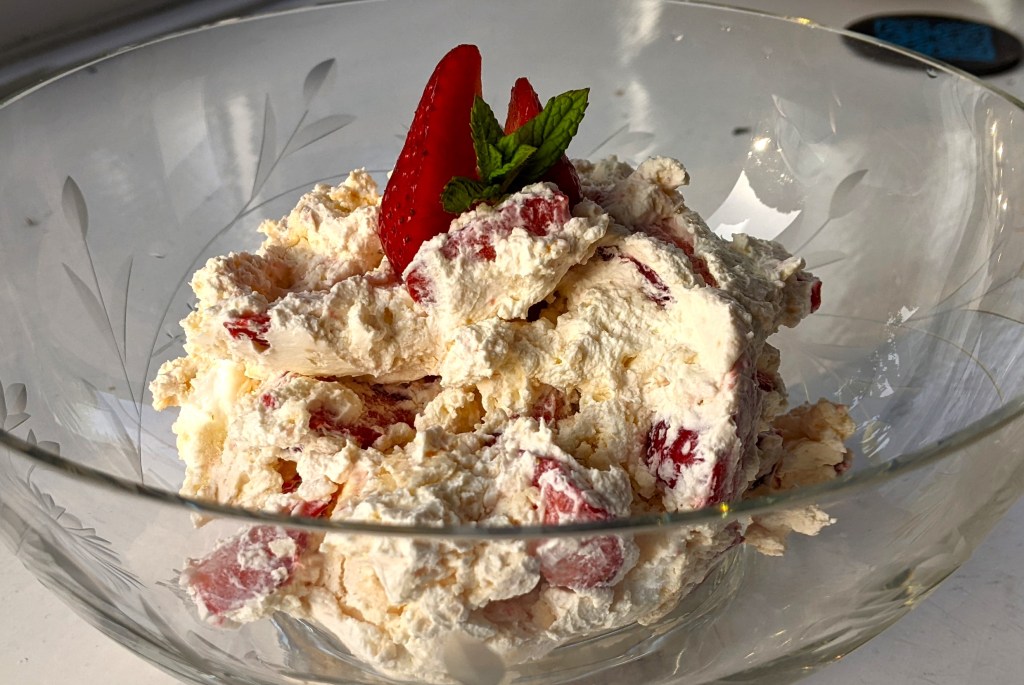
This dish originated at Eton College in the 1930s, and consists of broken meringue pieces, chopped strawberries and whipped cream. However you combine them, in my experience, they always end up looking a bit of a mess, hence the name (my main photo above is a case in point, though please note the sprig of fresh mint strategically positioned for artistic effect).

Get out your mat and pray to the west,
I’ll be in the kitchen making Eton Mess…

That also may not be a totally accurate quote from the song. However, for me, this dish always brings to mind The Jam’s classic track about class hierarchy perpetuated by old public schools.

Ready to tear down the House of Commons in your brand new shoes? No? Settle for making some nice meringues?

Here’s how to make Eton Mess.

Servings

This should give you dessert for 4 people.

Timings

The meringues take 1 hr 30 mins to bake, during which time you can prepare the cream and strawberries. Once the meringues cool, it will then take seconds to combine.

You Will Need

  • 3 egg whites
  • 175g caster sugar
  • 100ml double cream
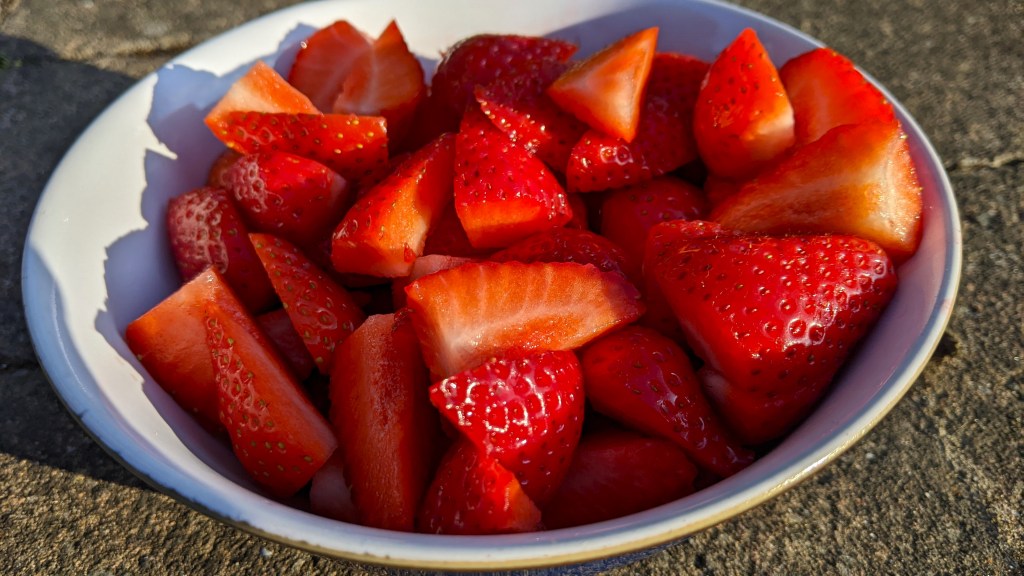
  • a 250g punnet of fresh strawberries

Method

  1. Heat the oven to 150C.
  2. In a clean bowl, whisk up the egg whites with an electric mixer till they form silky, white peaks.
  3. Add the sugar in spoonfuls at a time, whisking again after each one until all the sugar has been combined.
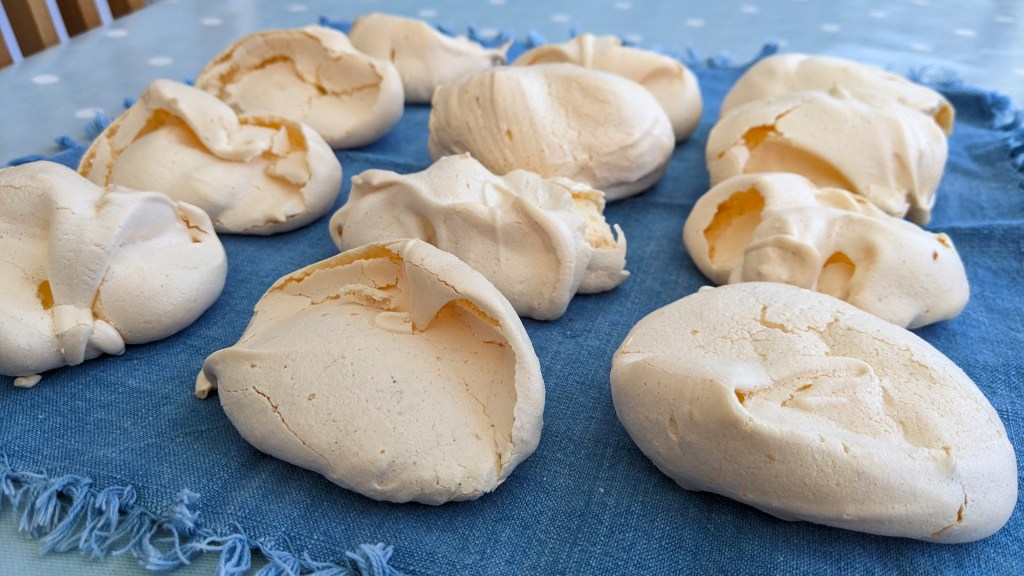
  4. Line a baking tray with baking paper, and drop the meringue mix on to it in dollops. You should get around 10 meringues.
  5. Place in the warmed oven for around 1 hr 30 mins, till golden. Leave to cool. They will be crispy on the outside, and slightly chewy at the centre.
  6. In a separate bowl, whisk the double cream until thick.
  7. Chop the strawberries.
  8. Crush the meringues into pieces, and mix with the strawberries and cream to make a right old mess.
  9. Place in the fridge until serving.

Customise it!

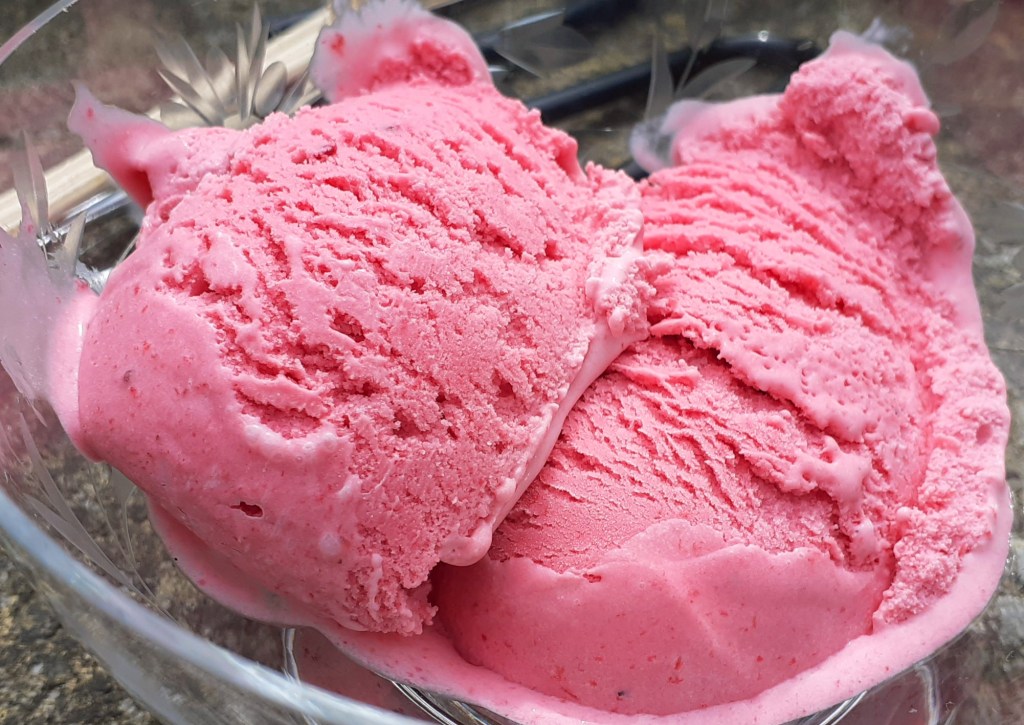
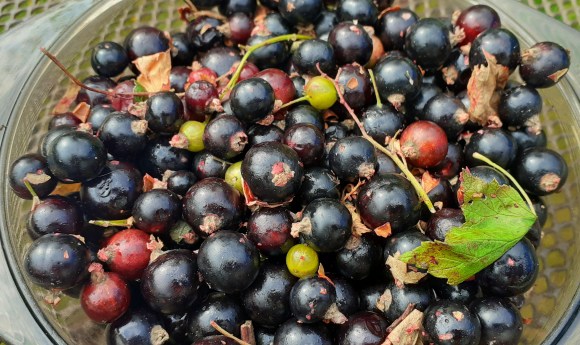
It is possible to add other summer berries, like blueberries, if you wish. You could also try mixing mascarpone in place of the double cream.

No surprises as to choice of track for the ADK Playlist. This is The Jam with The Eton Rifles.

Categories
Bakes Desserts

Hot Cross Bun Pudding

The idea for this week’s dish has been sent in to me by keen follower of A Different Kitchen, Pamela (thank you, Pamela). It is a kind of bread and butter pudding made with hot cross buns and fruit. The original recipe that it is based on came from Waitrose, and included rhubarb, which Pamela says prompted her husband to comment that this is one of the nicest puddings you have ever made.

High praise indeed!

In my version, I’ve changed it up a bit to include raspberries and blueberries as another option.

Hot cross buns are plentiful in the shops this time of year, and this is a good way of using up ones that may still be at the back of your cupboard, a day or two old. Their dried fruit, spices and glaze go well in a custard-style pudding.

You may also be able to pick them up in the shops at the moment at reduced price. This happened to me completely by chance – I didn’t get round to shopping for this till a few days after Easter Sunday, by which time Sainsbury’s were selling off yellow stickered packs of six for the princely sum of 15p (which equates to 20 US cents) each. As they say in a cost of living crisis, every little helps!

Timings

10 mins to combine, then 30 mins to chill. Another 30 mins to bake at 180C.

Servings

At least four generous portions.

You Will Need

  • 4 hot cross buns, which can be a day or two old
  • Butter or spread for the buns
  • 50 g caster sugar
  • 3 medium eggs
  • 300ml single cream
  • 100ml milk
  • 1 tsp vanilla extract
  • 15 – 20 raspberries and 15 – 20 blueberries

Method

  1. Slice each bun horizontally into 3, and spread each slice on one side with butter or your choice of spread.
  2. Arrange them in a baking dish so that they overlap at 45 degree angles. This will mean the submerged parts of the buns soak in the custard, while the peaks crisp up and caramelise.
  3. Stud the berries in between the bun slices, to get good coverage all over.
  4. Combine the sugar, eggs, cream, milk and vanilla extract in a bowl with a mixer. Pour all over the buns, and place in the fridge to chill for 30 mins.
  5. Heat an oven to 180C, and put in the dish for around 30 mins. Keep an eye on it for the last 10 mins or so to make sure the tops are crisped, but not burnt.
  6. Serve warm. It is also great cold.

Customise It!

As suggested, you can vary up the fruit to include whatever you like or have to hand. As we know from Pamela, rhubarb will work very well – stew about 400g in 80g sugar with a little orange juice, and spread amongst the buns.

Do you have an idea for a dish that can be featured on A Different Kitchen? And if so, would you like to choose the next track for the Playlist? Drop me a note in the comments below, if so.

This week’s track for the Playlist is one that I know Pamela will appreciate. Here’s Rod with You Wear it Well.

Categories
Bakes Desserts Recipes

Baked Blueberry, Lemon & Mascarpone Cheesecake

Heard the one about the new Italian toy craze loved by foodies? It’s called My Little Mascarpone.

I recently found myself with a tub of the silky rich cheese left over after making Cherry, Mascarpone & Biscotti Dessert, and wondered what else I could come up with. I spotted some unused blueberries in the fridge and there are usually some lemons in the ADK fruitbowl. Hey presto, the idea for a baked cheesecake was born.

I was introduced to baked cheesecake a few years ago in a New York deli, and loved it. I like how baking makes the taste and texture more intense, while browning and caramelising the top.

Servings

8 good sized slices.

Timings

10 mins to make the pastry, and 10 mins to make the filling, while the pastry base is chilling and the oven is warming up. Up to 50 mins to bake.

You Will Need

  • 225g plain flour
  • 100g butter
  • pinch of salt
  • a few tsp tap water
  • 50g caster sugar
  • 1 egg
  • 250g mascarpone cheese
  • 1 tbsp lemon curd
  • zest and juice of a lemon
  • 1 tsp vanilla extract
  • 125g blueberries

Method

  1. Sieve the flour into a food processor with blade fitted. Add in the butter in chopped cubes and whirl till you have the texture of breadcrumbs. Drop in enough water and swirl again, till it makes a ball of dough.
  2. Roll out on a floured surface and line a pastry dish. Mine shown in the main photo is 21cm diameter. Place in the fridge to chill, and turn on the oven to 180C.
  3. When the oven has reached temperature, line the pastry with scrunched up baking paper filled with ceramic baking beans, and put in the oven for 10mins. This will part bake the pastry base before adding the filling.
  4. While the pastry base is cooking, make the filling by mixing the sugar and egg in a bowl. Add in the mascarpone, lemon curd, zest, juice and vanilla and mix it all with an electric whisk.
  5. Remove the base from the oven, and take out the baking paper and beans, leaving them in another bowl to cool. Pour the filling into the pastry base, and stud all over the surface with the blueberries. Press the blueberries down just enough so that they adhere to the filling but can still be seen from above.
  6. Bake in the oven for around 50 mins. Check on it after 35 mins – if a skewer inserted in the middle is coming out with no wet mixture on it, the cake will be cooked. I like to leave mine for the fuller 50 mins, as I like how this gives the filling a dense and richer texture, and the top to be browned and caramelised.
  7. Leave the baked cake to cool before serving.

Customise It!

I used blueberries as I had a pack unused in the fridge. You could just as easily use raspberries or other berries. Also, if you don’t like making pastry, or don’t have ceramic baking beans, you can use a shop-bought base. You could also use a pack of ready made shortcrust pastry, if you wish.

New York is also the inspiration for the latest track to add to the ADK Spotify Playlist. There really are so many great bands I could choose from here: the Velvet Underground, New York Dolls, Talking Heads, Sonic Youth, Interpol… and of course these lads from Queens. Here are The Ramones, with Rockaway Beach.

Categories
Bakes Recipes

Lemon Drizzle Slices

After 2 flights, 26 hours in the air, 4 movies and at least 7 in-flight meals or snacks, I am now back home in the UK from my Australian trip.

I’ve also swapped a daily high temperature of around 30C in the Australian summer, for one of around 8C in the UK winter. If that sounds low in comparison, it is positively tropical given what friends and family have told me about the freezing weather here over December and January. Touch wood, we seem to have missed the worst of a very cold UK winter.

It’s good to be back in the ADK kitchen researching new dishes and listening to some new bands over the speakers on Spotify. There’s lots of exciting recipes and stuff to come over my next few posts, so stay tuned.

The first creation since my return is the Lemon Drizzle Slices shown above. I made these as a thankyou for our lovely neighbours who have been keeping an eye on our house while we have been away. Sweet and tangy, the cakes went down particularly well along with a glass of prosecco, sat in a warm living room sharing a few holiday snaps cast to the TV screen. Fancy having a go?

Servings

This will make 16 slices.

Timings

10 minutes to prepare, 15 – 20 mins in the oven. 5 mins to drizzle the lemon and another 5 mins to add the icing.

You Will Need

  • 70g softened butter
  • 120g caster sugar
  • 2 large eggs
  • 140g self-raising flour
  • 1 tsp baking powder
  • zest of a lemon
  • 1 tbsp lemon curd
  • 2 tbsp semi-skimmed milk
  • 30g granulated sugar
  • juice of a lemon
  • 70g icing sugar
  • 1 – 2 tbsp water

Method

  1. Grease a traybake pan 20cm x 20cm and line with baking paper.
  2. Heat the oven to 180C.
  3. Cream the softened butter and caster sugar with a mixer. Add in the eggs and whisk again.
  4. Sieve the flour and baking powder into the mixture. Add in the zest, lemon curd and milk. Stir to combine so there are no dry ingredients showing.
  5. Tip the mixture into the tin and place in the oven once it’s up to temperature. Bake for 15 – 20 mins, until the cake has risen and is golden. Pierce the middle with a skewer and, if there is no wet mixture on the skewer, it is done.
  6. Leave the cake in the tin, and pierce it all over in about 15 – 20 places to make tiny little holes. Mix the lemon juice and granulated sugar, then gently pour it over the cake, so that it seeps down into the holes. Take it slow as, if you pour too fast, it will flow off to the sides.
  7. Leave the soaked cake to cool completely, then remove it from the tin.
  8. Mix the icing sugar and water together, then spread over the cake. Leave it aside to set (I find placing it in the fridge helps the setting process).
  9. Once the icing is set, cut into slices and serve.

Customise it!

This recipe is already customised, to be fair, so there’s not too much more to suggest. It’s based on one by Paul Hollywood (thanks Paul), to which I have made a few tweaks – the main one being to use only one third the amount of icing that he does. I can only assume he likes his icing laid on nice and thick!

If you don’t want to make the icing, that’s ok – the cake is also fine to serve without it (see my photo below).

I’ve been discovering some great new music since my return, so will be featuring this on the ADK Playlist over the next few posts. Here’s the first: The WAEVE is the new venture by Graham Coxon (out of Blur) and Rose Elinor Dougall. They’ve just released their first album, and I love the bass guitar line on this track, called Kill Me Again. Stick with it – it kicks in after the first verse.

Categories
Bakes Desserts Recipes

Coffee and Walnut Cake

It’s a great pleasure to introduce our latest guest post this week on A Different Kitchen. My good friend, and master baker, Kelvin, shares with us his recipe for Coffee and Walnut Cake. He has treated me to a slice of this and I can confirm it is delicious, with a creamy coffee coating and a walnut crunch.

Hi, this is a cake that I have made a few times now. It has always been very popular with my family, and I have developed it to take account of their feedback. In particular, I have added more coffee cream filling to coat the top and sides of the cake (not just the middle), and more walnuts. This latest version was well-received at my wife’s birthday party recently. My little 3 year-old grand-daughter liked it a lot, having a second slice and asking for me to make her next birthday cake. A satisfied customer indeed!

Timings

15 mins to prepare, and around 40 mins to bake.

Servings

I used a 24cm diameter size baking tin, enough for around 16 generous slices.

You Will Need

For the Cake

  • 225g softened butter
  • 225g caster sugar
  • 4 eggs
  • 275g self-raising flour
  • 1 teaspoon (tsp) baking powder
  • 4 tablespoons (tbs) milk
  • 2 tsp vanilla essence
  • 80g walnuts (chopped)
  • 1 tbs instant coffee granules with 1 tbs boiled water

For the Filling

  • 150g softened butter
  • 400g icing sugar (sifted through a mesh sieve)
  • 4tsp milk
  • 2tsp instant coffee granules with 2tsp boiled water
  • 50g walnuts halved for decorating the top of the cake.

Method

For the Cake

  1. Grease cake tin with a thin layer of butter and pre-heat a fan oven to 160C.
  2. Beat the eggs well in a cake bowl until fluffy. Add butter, sugar, finely chopped walnuts, flour, baking powder, milk and vanilla essence. Dissolve the coffee granules in the boiled water, and add to the bowl once cooled. Mix well.
  3. Spread mixture evenly into the cake tin.
  4. Bake until ready in oven for 30/40 mins. Check to make sure it is no longer moist inside.

For the Filling

  1. Beat softened butter and gently add filtered icing sugar (and when all icing sugar added) add milk. Dissolve the coffee granules in 2tsp water, and add when cooled. Beat together until smooth.
  2. After the cake has cooled, cut it into half. Inside one half thinly spread filling. Place other half on top and cover with the remainder of the filling and around the sides (as shown in the photo).  
  3. Finish by decorating halved walnuts over icing on top of cake.
  4. Keep in the fridge to harden the icing.
  5. Take out of the fridge 30 mins before serving.
  6. Slices can be frozen to retain freshness.

My choice of musical track for adding to Kevin’s ADK Playlist is The Sounds of Silence by Simon and Garfunkel. I particularly like this version, recorded live. The wonderful harmonies, the lyrics and the simple accompaniment on acoustic guitar combine to make this a favourite song of mine.

Categories
Desserts Recipes

Passion Fruit and Lime Pots

I made these recently to share with friends as a dessert after a dinner party. They look good, taste fresh and tangy with a hint of sweet and sour, are a little different from the norm, and not that difficult to make. They can also be prepared well in advance of mealtime. It is a Mary Berry recipe originally, so thanks to Mary for the inspiration!

My recent photo post on Twitter for this dish received a new record number of likes for A Different Kitchen, so I’m sharing the full recipe here.

Timings

20 mins to prepare, at least two hours to set in the fridge.

Servings

This will make six pots.

You Will Need

  • 6 passion fruits
  • juice of 1 lime
  • 600ml double cream
  • 100g caster sugar

Method

  1. Tip the cream and sugar into a saucepan. Heat and stir until the sugar has dissolved, then step up the heat and boil for 3 minutes. Remove from the heat.
  2. Halve 5 of the passion fruits and scoop out the juice and seeds. Whirl the juice and seeds in a food processor with blade fitted, until smooth. Push through a sieve so that you have a smooth juice, and discard the seeds.
  3. Add the passion fruit juice to the warm cream and sugar mixture, so that the cream will start to thicken.
  4. Add the lime juice also to the mixture, and stir in so that it thickens further.
  5. Pour the mixture into six ramekins and let cool. Once cooled, place in the fridge to set for at least 3 hours.
  6. When ready to serve, cut the remaining passion fruit in half and scoop out the juice and seeds. Scatter this across the surface of the 6 pots, and serve.

The musical accompaniment to this dish should be smooth, mellow and sophisticated, with just a hint of an edge to reflect the combination of sweet and sour. I’ve opted for a band getting a lot of play recently in the ADK kitchen, and that is Massive Attack, here with the excellent vocals of Tracey Thorn. Enjoy Protection.

Categories
Desserts Recipes

Blackcurrant Ice Cream

Regular visitors will know that this week I’ve been researching how to turn a lovely fresh crop of blackcurrants into ice cream. Well, my photo shows a few scoops of the results! I relied heavily on an old Delia recipe, and updated it for the age of the electric ice cream maker. There is really very little added other than sugar and cream, leaving this tart and vibrant coloured summer fruit to be the star of the show.

Servings

This will make 500g of ice cream, so comfortably enough for 5 – 6 servings.

Timings

15 mins preparation, and 35 mins churning.

You Will Need

  • 400g freshly picked blackcurrants
  • 175g granulated sugar
  • 150ml water
  • 300g double cream
  • an electric mixer
  • an ice cream maker

Method

  1. Place the drum of the ice cream maker in the freezer to get really frozen. I usually allow 24 hours.
  2. Press the blackcurrants through a sieve with a bowl beneath. The bowl will fill with divine purplish juice, leaving behind the pips and skins in the sieve, which can be discarded.
  3. Combine the sugar and water in a saucepan and bring to the boil, dissolving the sugar. Simmer for a few minutes, then switch off. Combine with the blackcurrant juice and leave to cool.
  4. Whisk the double cream with a mixer.
  5. Place both the bowl of whipped cream and the bowl of blackcurrant juice in the fridge for a couple of hours to get really cold. Then remove from the fridge and combine, stirring it through so that all the cream takes on a purplish colour.
  6. Remove the frozen ice cream maker drum from the freezer. Tip the blackcurrant/cream mix into it and churn for around 35 mins.
  7. Switch off and spoon/scrape the ice cream out of the drum into a plastic container. Seal and place in the fridge for a good few hours before serving. The longer it has the more it will set.

And finally, a reminder of how it all began…