Categories
Blog

Hamble Spring Market

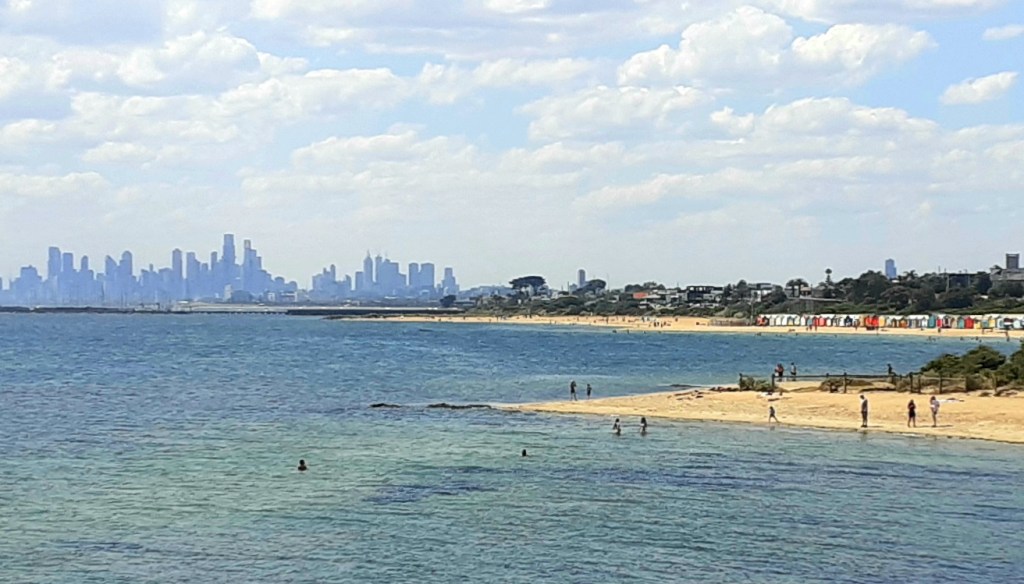
This Sunday we went to our first Hampshire Farmers’ Market of 2023, at the nearby village of Hamble. It took place down by the waterfront, where the River (also named the Hamble) meets the Solent (which in turn flows out to the English Channel).

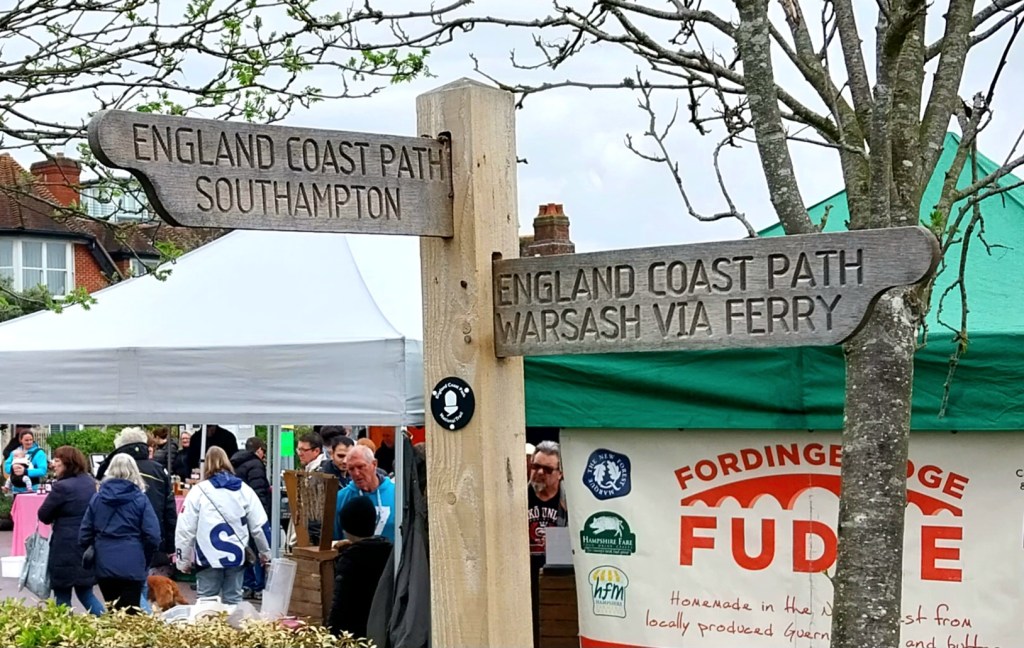
As the sign above shows, it is actually possible to walk or cycle there via the England Coast Path. You can also ‘park and float’ from Warsash (on the other side of the River) via a great little ferry.

I always like visiting these local markets. The food is original and high quality, and it’s an opportunity to support independent producers in a sustainable economy. You can buy as much or as little as you wish, and packaging is minimal, as shoppers usually bring their own bags.

The sellers are generous with tasters and free samples. This adds a lot of fun and, like the produce itself, is not something you’d normally find in the branch of a big supermarket chain.

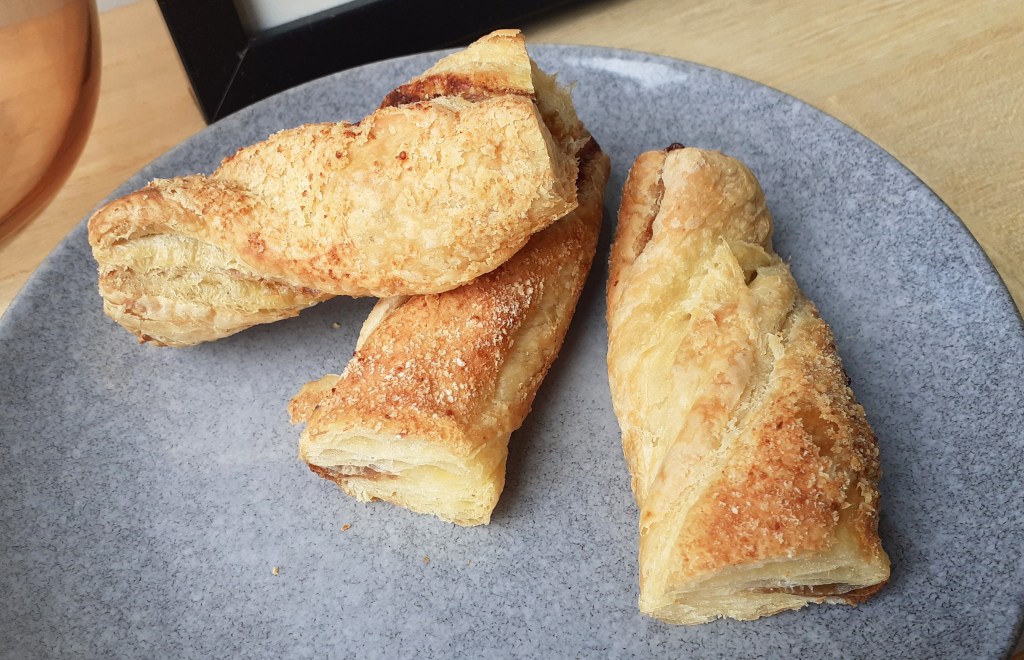
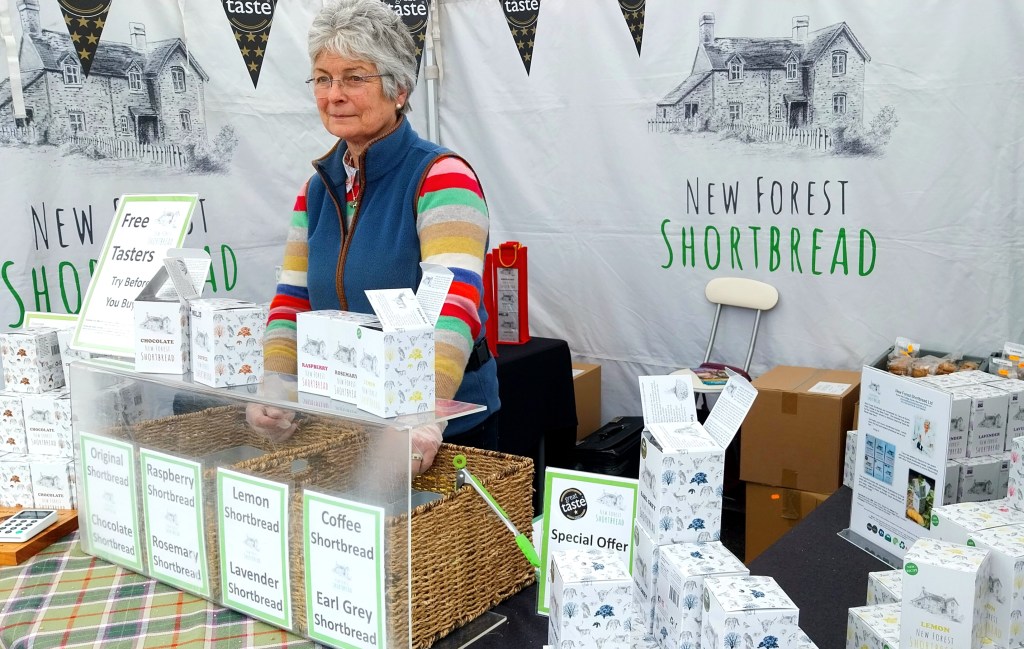
I’ll start with New Forest Shortbread. This lady bakes all her own in a 200 year-old cottage in Burley, in the centre of the Forest. I particularly liked the coffee shortbread, blended with Mozzo coffee roasted in Southampton.

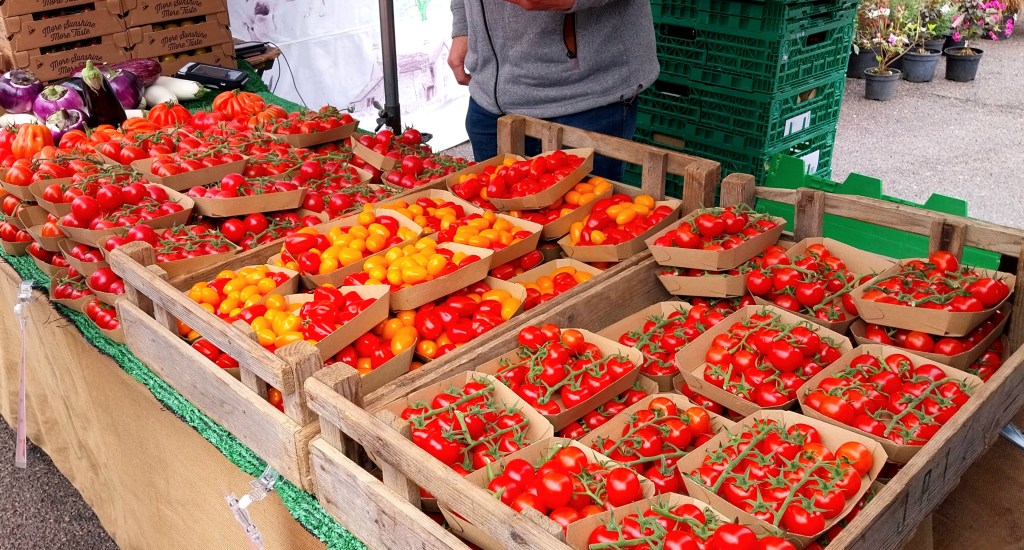
A few weeks back, we were having a tomato shortage in our local shops. No chance of that now however, with this array of beauties grown just across the Solent on the Isle of Wight.

Lovers of charcuterie were also well served by this selection of spicy cured meats.

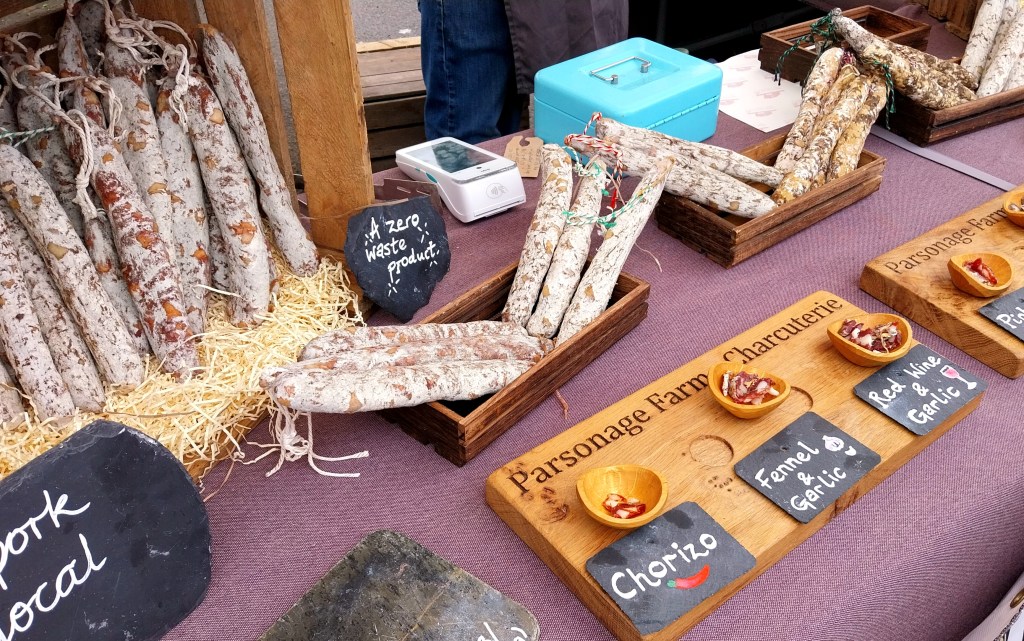
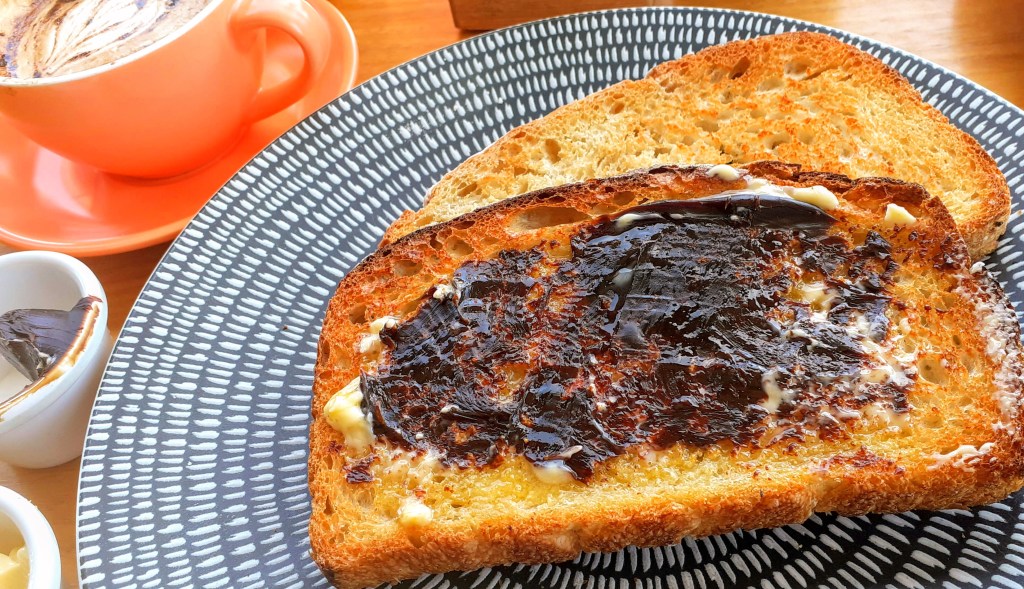
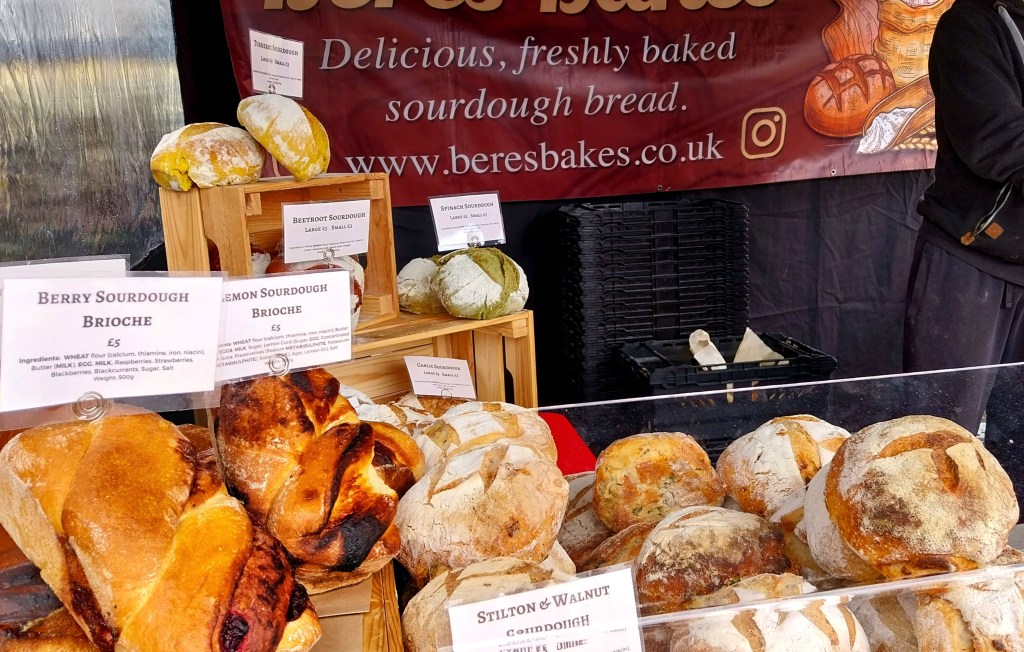
And why not combine this in a tasty sandwich, with some fresh sourdough bread.

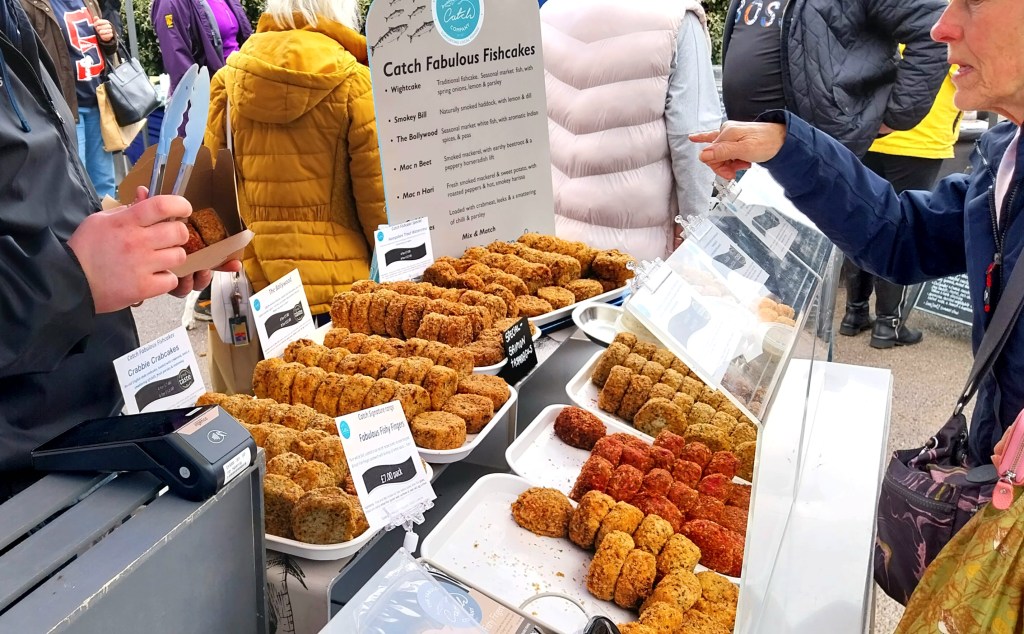
We brought home a box of four fishcakes by Catch, who are based in Calshot, a little way along the coast. You can mix and match flavours, my fave being mackerel and beetroot.

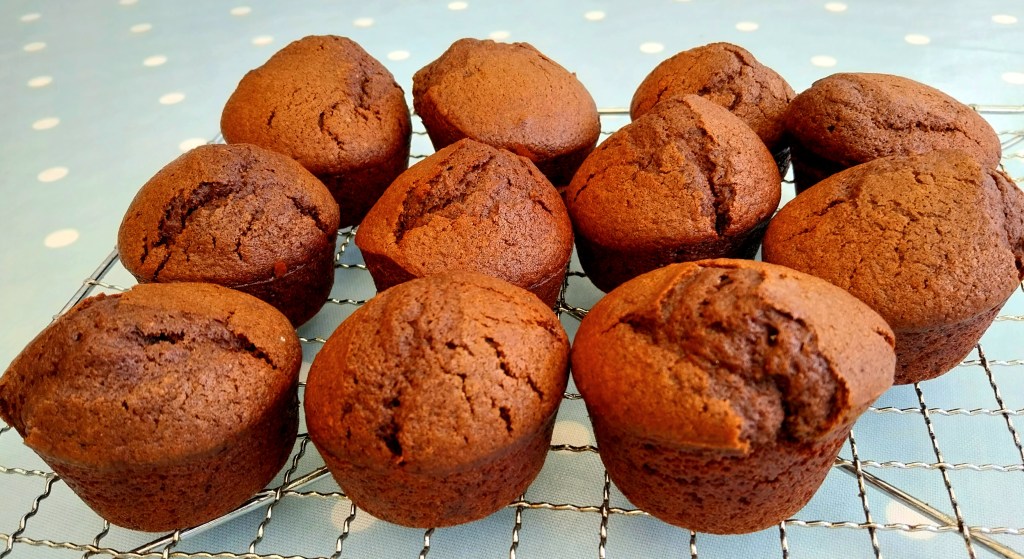
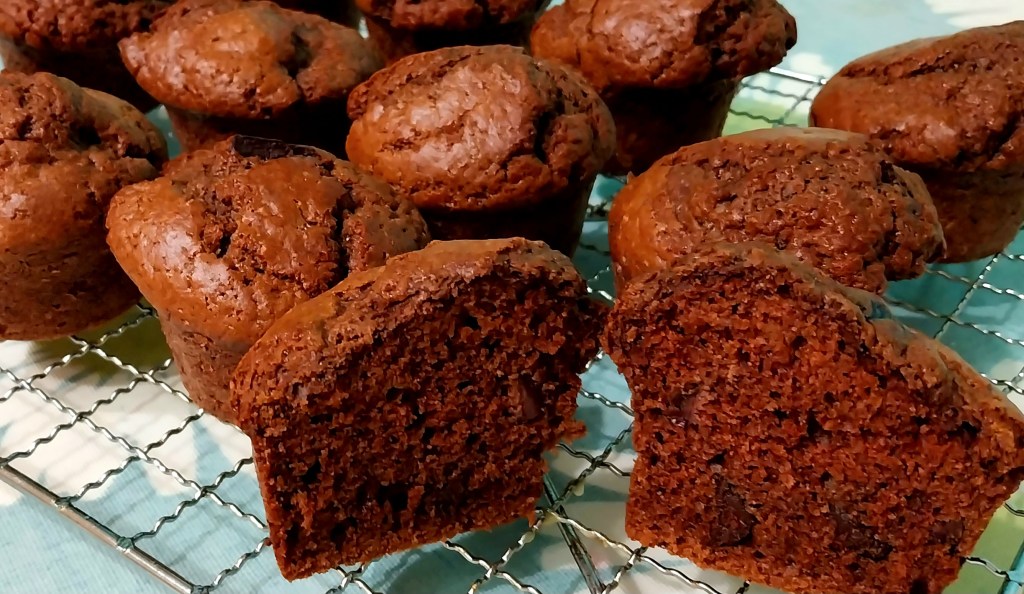
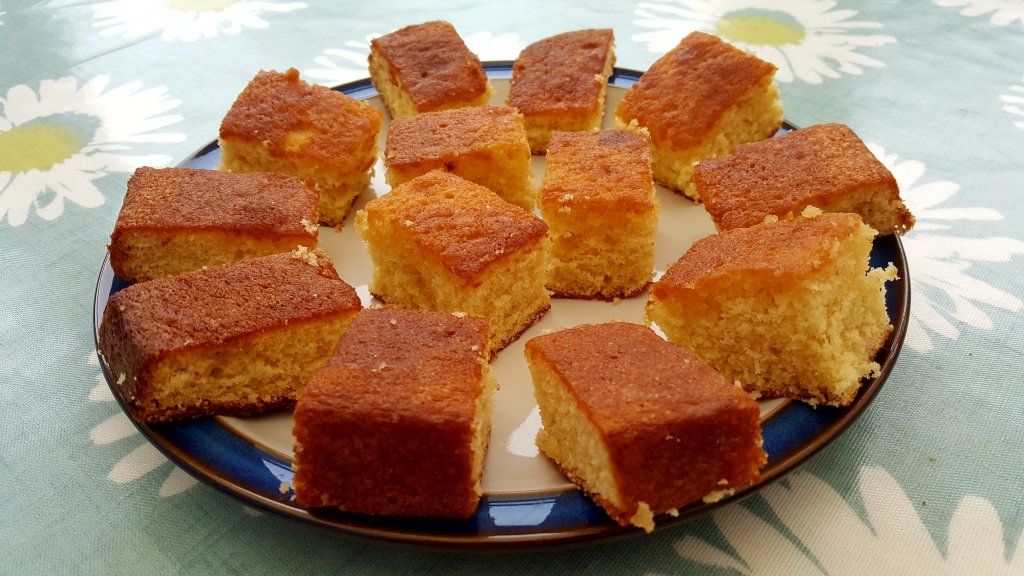
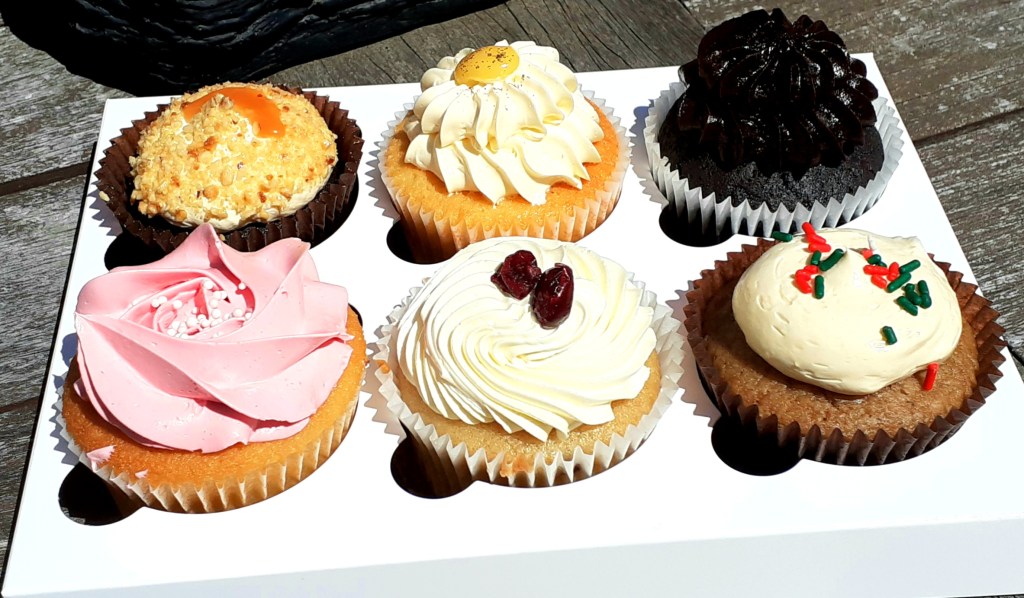
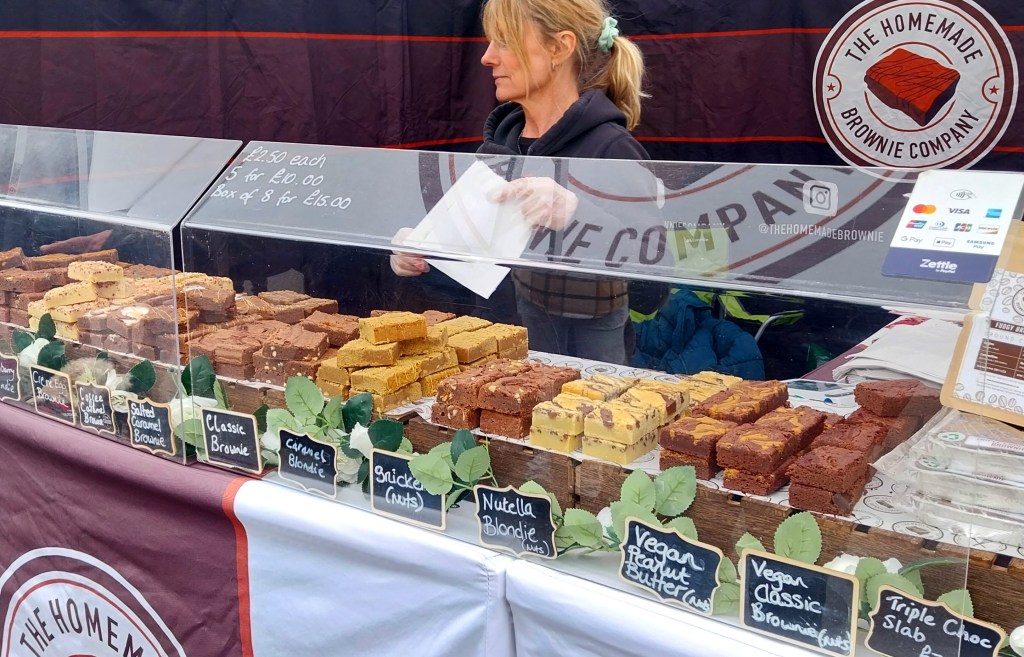
Brownies are always a hit, especially when you have this amazing range of flavours to choose from.

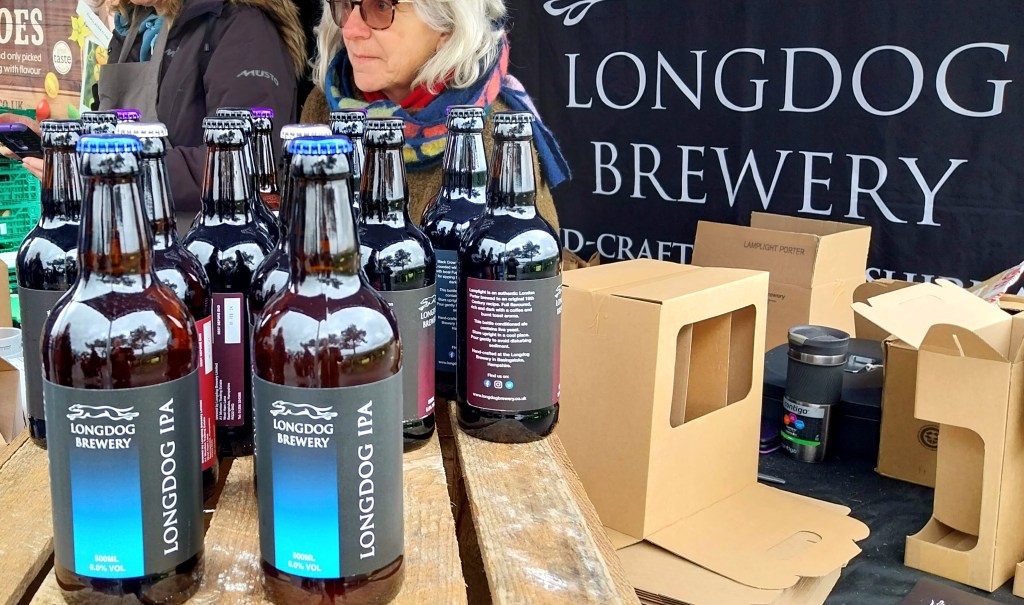
Basingstoke’s Longdog Brewery were attracting a lot of interest with free tasters of their excellent beers….

…so much so that I just had to take home a bottle of Longdog IPA, which I enjoyed later.

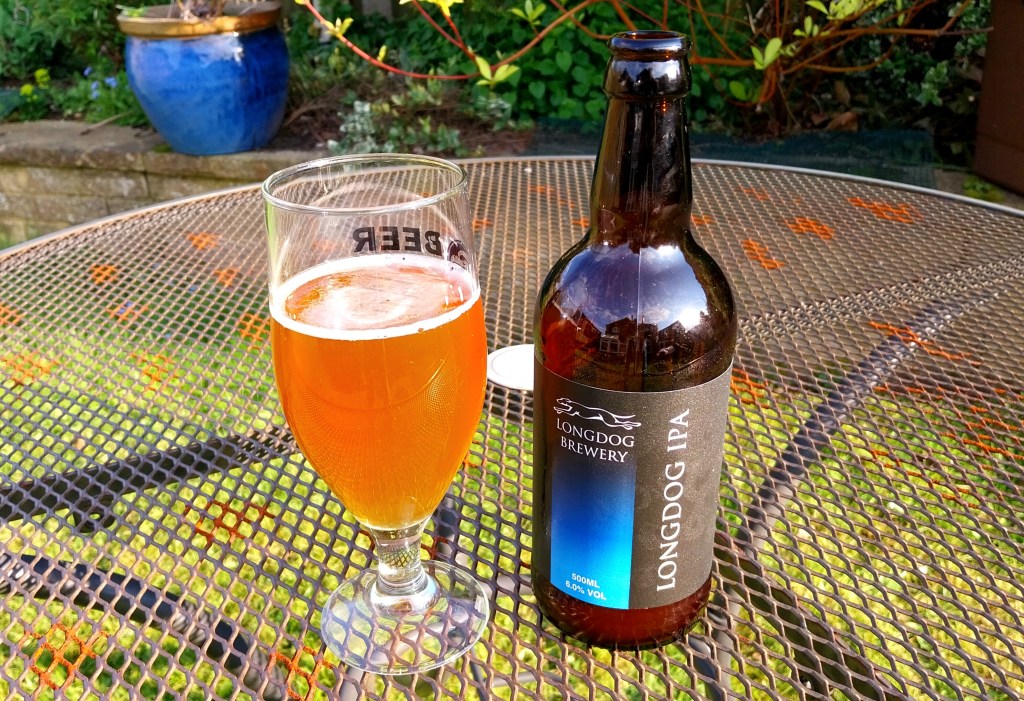
It went down a treat sitting in the back garden listening to some music. A track came on my headphones which I hadn’t heard for some time, and I was reminded how great a song it was. Time to add it to the ADK Playlist, therefore. All the way from Montreal, here’s Arcade Fire with The Suburbs.

Cheers!

Categories
Bakes Recipes

Vegan Choc Cupcakes

As the egg shortage in our shops continues, so does my search for alternatives to the use of eggs in baking.

Today I’ve borrowed a great recipe for vegan vanilla cupcakes over on Tulsi’s Vegan Kitchen. Click on the link if you wish to see it – there is also a very helpful You Tube instruction video that I can recommend. Thank you, Tulsi!

So what takes the place of eggs in the recipe? Unsweetened almond milk, curdled with a tablespoon of vinegar (I used cider vinegar). I wondered if this would add sourness to the taste, but it absolutely doesn’t. It just replicates the use of buttermilk in baking, which adds taste and texture through its extra acidity.

The one development that I have made is to add 3 tablespoons of cocoa powder to the dry ingredients, turning mine into chocolate cupcakes, as you can see in my photo above. The mixture rises well and is very moist. An undoubted success!

This recipe, and the one in my previous post using avocado to give texture to a chocolate mousse, have certainly opened my eyes to the possibilities of egg-free baking.

In the music world this week, I’ve been enjoying exploring more of a certain band I’ve admired for some time. As well as listening to music while I cook, I also tune in with my ear pods while at the gym. I’ve discovered that this, the band’s most recent track, has the perfect beat and rhythm to work out to on the elliptical trainer (perfect for me, that is, coming in at 68-69 revolutions per minute). So once you’ve enjoyed the choc cupcakes, burn those calories and get the arms and legs pumping in sync with LCD Soundsystem – this is New Body Rhumba.

Categories
Bakes

Cherry Almond Traybake

A biscuity pastry crust, spread with a layer of rich cherry fruit jam, topped with eggy, almondy sponge and toasted flaked almonds. Sound good? It certainly tastes good! This indulgence can be yours – read on.

Servings

This will make 16 slices.

Timings

15 mins to make and chill the pastry. Another 10 mins to make the sponge filling while the pastry is baking blind, then 50 mins to bake the full cake.

You Will Need

  • 225g plain flour
  • 100g butter or margarine spread
  • pinch of salt
  • a few drops of cold water
  • 300g cherry jam
  • 150g veg oil
  • 200g caster sugar
  • 100g ground almonds
  • 100g self-raising flour
  • 1 tsp baking powder
  • 1 tsp almond extract
  • 4 medium eggs
  • 25g flaked almonds

Method

  1. Grease a traybake tin and line with baking paper. Mine is approx 22cm square.
  2. Sieve the plain flour into a food processor with blade fitted. Add in the butter or spread and blitz till it has the consistency of breadcrumbs. Add as much water as necessary to make a dough.
  3. Roll out on a floured surface and press in to cover the bottom and sides of the tin. Put in the fridge to chill, and turn on the oven to 180C.
  4. When the oven has reached temperature, take the pastry dish from the fridge, and fill with ceramic baking beans over a piece of crumpled baking paper. This will help stop the pastry rising and burning in this first stage of cooking, where the pastry base is ‘baked blind’. Put in the oven for 10 mins.
  5. While the pastry is baking blind, combine the rest of the ingredients (except the jam and flaked almonds) in a bowl and mix with an electric mixer.
  6. When the pastry base has had its 10 mins, take it from the oven and remove the beans/paper. Spread the cherry jam all over. Then pour on the egg and almond mix, even it out with a spatula and sprinkle the flaked almonds all over. Place back in the oven for 50 mins, or until nicely golden, and when a skewer put into the centre of the cake comes out with no wet mixture sticking to it.
  7. Leave to cool, then turn out of the tin and cut into squares.

Customise It!

Cherry and almond is a classic taste combination, but raspberry jam will also work well.

Posting this traybake gives me a word association-style opening to add this next track to the ADK Playlist. No, not The Jam. Nor Marc Almond. Here’s a beautiful duet between Neneh Cherry and Youssou N’Dour – Seven Seconds.

Categories
Bakes Blog

Bread Maker Pizza

Bread making machines have had something of a topsy turvy existence. Invented in the ’80s, they became widespread in homes in the ’90s and ’00s, as the smell and taste of freshly baked bread, at little more than the push of a button, became the next domestic ‘must have’ appliance.

Then, they rather fell out of favour. With growing awareness of the need to manage one’s carb intake, I know a few people who placed theirs in car boot sales, or simply gave them away.

There was then something of a resurgence in the pandemic. A combination of boredom in isolation, wish to avoid busy shops and some food shortages prompted people to dig their bread maker out from under the stairs, and bring it back into use.

While the pandemic is now well in decline, today’s cost of living crisis is once again reviving interest in home baking.

My experience is that it is very easy to slip into a rut with bread making – we find one of the pre-programmes that works for us reliably, and make the same loaf over and over again. It’s useful to remind ourselves that they are actually quite versatile and sophisticated machines. Mine is a Panasonic 2500, and the programmes enable dough preparation for ciabatta, focaccia and various fruited and seeded breads.

My photos show how I’ve used it recently to make a pizza base. I have had some mixed results in the past when making yeast dough by hand, as there are a number of variables, and things can easily go wrong. However, I find the bread maker version much more reliable.

Following the instructions in my manual, I tipped some fast action dried yeast powder, strong white bread flour, olive oil, salt and water into the tin. The machine then mixed, swirled and kneaded it all automatically for 45 minutes as per the set programme.

I left it covered in a warm place till ready to use. The soft and pliable dough came away easily from the tin, didn’t stick to my fingers, and was easy to stretch out with my hands on a floured surface.

I added some tomato and onion sauce I’d made, with fresh torn basil leaves, then topped it with soft fried chopped mushrooms, peppers, black olives and grated mozzarella cheese. Here it is ready to go in the oven at 180C.

12 minutes later, it looks like this and tasted delicious! The base had baked evenly from the edges all the way to the centre. It is also a fraction of the cost of a Domino’s. You can vary the ingredients if you wish, to incorporate your favourite toppings.

So if you have a bread maker somewhere gathering dust, why not look it out and try some new styles of bread? Never mind if you’ve lost the instruction manual, they are usually still available online. With fresh ingredients, and some fast action dried yeast you should, like this classy track from Gabrielle, be ready to Rise again.

Categories
Bakes Recipes

Double Choc Cherry Muffins

Sometimes the unplanned, spur of the moment dishes can turn out to be the best!

I had half a pack of fresh black cherries left over from my Cherry, Mascarpone & Biscotti Dessert, and was looking for ideas on how to use them up. Spotting just over half a 100g bar of Lindt 70% dark chocolate in the kitchen cupboard, I soon had the answer.

Dark chocolate and cherries is a timeless combination that never ceases to please. This recipe delivers a double hit of chocolate, through the sponge mixture and the broken-up chunks.

The other ingredients involved here are all ones I usually have in the fridge or store cupboard. After about an hour, the family was tucking into fresh double choc cherry muffins, still warm from the oven.

Fancy some of that action? Read on…

Servings

This will make 12 muffins.

Timings

10 -15 mins to prepare while the oven is warming up, then 25 mins in the oven at 180C.

You Will Need

  • 255g plain flour
  • 2 tsp baking powder
  • half tsp bicarb of soda
  • half tsp salt
  • 110g sugar (caster or granulated)
  • 4 tbsp cocoa powder
  • 1 egg
  • 250ml milk
  • 90ml vegetable oil
  • 1 tsp vanilla extract
  • 60g dark chocolate broken into chunks
  • 60g black cherries, stones removed and cut into quarters

Method

  1. Switch on the oven and heat to 180C. Lay out a muffin tin or mould.
  2. While the oven is getting up to temperature, prepare the mixture.
  3. In a bowl, sieve together the flour, baking powder, bicarb, salt and sugar.
  4. Add in the cherries and choc chunks. Give it all a good stir so that the cherries and choc are coated in the dry mix.
  5. Break the egg into a separate bowl, and stir in the milk, oil and vanilla. Add to the dry ingredients and stir to incorporate, so that there are no dry ingredients visible.
  6. Spoon into the muffin tin/mould and put in the oven for 25 mins at 180C.
  7. Remove from the oven when done and leave to cool on a wire rack, before enjoying. They are great when still a little warm, and just as good when cool. They will keep for a couple of days in an airtight container (though they will probably all be gone before then!)

Customise it!

For an even smoother taste, replace the 90ml veg oil with 90g of butter, melted in a microwave. You could also introduce some chopped nuts along with the cherries and choc – go for 40g and reduce the cherries and choc chunks to 40g also.

The next track for the ADK Spotify Playlist is bang on theme, requiring no further explanation. This is Goldfrapp with Black Cherry.

Categories
Bakes Recipes

Lemon Drizzle Slices

After 2 flights, 26 hours in the air, 4 movies and at least 7 in-flight meals or snacks, I am now back home in the UK from my Australian trip.

I’ve also swapped a daily high temperature of around 30C in the Australian summer, for one of around 8C in the UK winter. If that sounds low in comparison, it is positively tropical given what friends and family have told me about the freezing weather here over December and January. Touch wood, we seem to have missed the worst of a very cold UK winter.

It’s good to be back in the ADK kitchen researching new dishes and listening to some new bands over the speakers on Spotify. There’s lots of exciting recipes and stuff to come over my next few posts, so stay tuned.

The first creation since my return is the Lemon Drizzle Slices shown above. I made these as a thankyou for our lovely neighbours who have been keeping an eye on our house while we have been away. Sweet and tangy, the cakes went down particularly well along with a glass of prosecco, sat in a warm living room sharing a few holiday snaps cast to the TV screen. Fancy having a go?

Servings

This will make 16 slices.

Timings

10 minutes to prepare, 15 – 20 mins in the oven. 5 mins to drizzle the lemon and another 5 mins to add the icing.

You Will Need

  • 70g softened butter
  • 120g caster sugar
  • 2 large eggs
  • 140g self-raising flour
  • 1 tsp baking powder
  • zest of a lemon
  • 1 tbsp lemon curd
  • 2 tbsp semi-skimmed milk
  • 30g granulated sugar
  • juice of a lemon
  • 70g icing sugar
  • 1 – 2 tbsp water

Method

  1. Grease a traybake pan 20cm x 20cm and line with baking paper.
  2. Heat the oven to 180C.
  3. Cream the softened butter and caster sugar with a mixer. Add in the eggs and whisk again.
  4. Sieve the flour and baking powder into the mixture. Add in the zest, lemon curd and milk. Stir to combine so there are no dry ingredients showing.
  5. Tip the mixture into the tin and place in the oven once it’s up to temperature. Bake for 15 – 20 mins, until the cake has risen and is golden. Pierce the middle with a skewer and, if there is no wet mixture on the skewer, it is done.
  6. Leave the cake in the tin, and pierce it all over in about 15 – 20 places to make tiny little holes. Mix the lemon juice and granulated sugar, then gently pour it over the cake, so that it seeps down into the holes. Take it slow as, if you pour too fast, it will flow off to the sides.
  7. Leave the soaked cake to cool completely, then remove it from the tin.
  8. Mix the icing sugar and water together, then spread over the cake. Leave it aside to set (I find placing it in the fridge helps the setting process).
  9. Once the icing is set, cut into slices and serve.

Customise it!

This recipe is already customised, to be fair, so there’s not too much more to suggest. It’s based on one by Paul Hollywood (thanks Paul), to which I have made a few tweaks – the main one being to use only one third the amount of icing that he does. I can only assume he likes his icing laid on nice and thick!

If you don’t want to make the icing, that’s ok – the cake is also fine to serve without it (see my photo below).

I’ve been discovering some great new music since my return, so will be featuring this on the ADK Playlist over the next few posts. Here’s the first: The WAEVE is the new venture by Graham Coxon (out of Blur) and Rose Elinor Dougall. They’ve just released their first album, and I love the bass guitar line on this track, called Kill Me Again. Stick with it – it kicks in after the first verse.

Categories
Bakes Blog Snacks

Viva Vegemite!

My Lonely Planet guide book to Australia advised that one of the foods I must try when I was here was Vegemite. I have followed that advice and very much enjoyed this institution of an Aussie delicacy, in many forms. The most memorable is the Vegemite Knot pastry, shown above, more of which I shall explain in a moment.

My first encounter with the stuff was in a road side cafe on Phillip Island in Victoria. Having stopped for a coffee (a long black with milk on the side – they do not do americanos here), I noticed that the snacks menu included two thick slices of sourdough toast, with butter and Vegemite. Sounded too good to turn down, so in a few moments the plate shown below arrived.

I soon learned that serving on thick buttered toast is a really good way to enjoy it. The dark, rich spread combines with the butter to make a salty, malty, creaminess that sinks into the warm toast, and complements the crispy crust. The taste is similar to the Marmite that we have in the UK, but much more buttery and creamy, and easier to spread.

Shortly after this, I invested in my own jar at Coles, one of Australia’s major supermarket chains, and the above has become a regular form of breakfast!

Vegemite is made from yeast extract and is a good source of B vitamins. The culinary ingenuity of Australians has led to it being incorporated into more and more foods and dishes, including marinades, stocks, soups and stir fry sauces. Savoury bakes are also fair game, see my photo below – cheese and vegemite twists, anyone?

Or possibly even a flavouring for roast chicken? This was on sale, hot, in Coles:

And so to the photo that started this post – the Vegemite Knot. I found this in Rollers Bakehouse, a great cafe in Manly, by Sydney’s north beaches. Someone has made the inspired decision to combine Vegemite in a creamy, almost caramel-type sauce and drizzled it on choux pastry, topped with chopped scallions (spring onions) and what I think are chia seeds. It tasted unique and wonderful, managing to be both sweet and savoury at the same time.

Suitably inspired, I will be taking a jar of Vegemite home with me and plan to experiment with its use in baking. My current thoughts are to adapt my tried and tested recipe for National Trust scones, to include cheese, Vegemite and possibly some local water cress. Watch this space for a future post!

Choice of music for the ADK Playlist has to be the only track I know that famously references the Vegemite sandwich. Here’s Melbourne’s own Men at Work with Down Under.

Categories
Bakes Recipes

The Perfect Lamington

During my travels here in Australia, I have become quite partial to the Lamington. Typically enjoyed with a coffee, it seems to be something of a national treasure, and is on sale in bakeries and cafes everywhere we go.

Essentially it is a square-shaped sponge cake, coated in chocolate icing with a generous sprinkling of desiccated coconut. A simple, and unbeatable combination!

The story goes that it was invented in Queensland, Australia in around 1900 by the chef to the State Governor, Lord Lamington. I understand that New Zealanders have also laid claim to it’s creation, but the Aussies seem to be having none of that!

There are some variations. The ones in my main photo introduce another ingredient – a layer of raspberry jam in the middle – which works really well. There is even a bakery in Sydney that has developed glamingtons, with flavours including strawberry, salted caramel and peanut butter. The original choc and coconut combo remains the most popular, however.

Australia Day (the national holiday) is coming up on 26 January, and one of the ways that people will be celebrating is by baking and eating Lamingtons. These ones, adorned with national flags, I spotted in a bakery today in Brighton, a resort just down the coast from Melbourne.

Here is another variation for Australia Day – a Lamington style Victoria sponge filled with fresh cream.

Can’t be bad!

Fancy joining in?

Servings

This will make around 16 cakes.

Timings

20 mins to prep, 20 mins in the oven. Once cooled, 10 mins to coat in the icing.

You Will Need:

  • metal baking tray, 24cm square (or equivalent)
  • 125g sugar
  • 50g butter, softened, plus 1 tbsp for the icing
  • 2 eggs
  • 120g self-raising flour
  • 85g desiccated coconut
  • 2 tbsp cocoa
  • 150g icing sugar
  • 3 tbsp boiling water
  • 1 tbsp butter
  • some smooth raspberry jam (optional)

Method

  1. Heat the oven to 180C.
  2. Grease and line the metal baking tray with baking paper.
  3. Cream the sugar and softened butter together in a mixer. Whisk in the eggs and combine, then add in the self-raising flour.
  4. Pour the batter into the baking tray and spread out evenly with a knife or spatula. Bake for 20 mins.
  5. Cool on a baking tray, then cut into squares.
  6. If you wish to add a layer of jam, do so at this stage – slice each square and spread it in, making a jam sandwich.
  7. For the chocolate coating, mix the cocoa, icing sugar, boiling water and tbsp butter. Give it a good stir so it forms a nice, thick sauce.
  8. Put the desiccated coconut in a separate bowl, alongside.
  9. One at a time, place each sponge square on a fork and dunk it in the choc sauce. Use a spoon to coat the top and sides, then set it in the coconut, gently turning it over so that all sides are coated.
  10. Leave on a wire rack and allow 10 – 15 mins to set, before serving.

Customise it!

As indicated above, bakers across Australia have come up with a number of very creative variations. If, like me, this is the first time you’ve made Lamingtons, I would stick to the basic recipe. With all the dunking in choc sauce and coconut, this has the potential to become quite messy. My advice is to learn to walk before you run!

I mentioned earlier that we had visited Brighton today. For my final photo, I will share with you this shot from Brighton Beach, looking back towards the Melbourne city skyline. I liked the contrast between the small town seaside resort, with a line of little coloured beach huts on the right, and the mighty CBD behind. It was another hot one today, reaching 30C, and we joined the many people cooling off in the sea.

Time to add another Australian band to the ADK Playlist. I discovered The Presets, an electronic duo from Sydney, on a visit to Melbourne’s Australian Centre for the Moving Image. This track is called My People.

Categories
Blog Desserts

Wish Upon a Cupcake

Have you ever had an issue arise while staying in an Airbnb? I’m pleased to say this one, on our current stay in Australia, had a very happy ending.

Our suspicions were raised about ten minutes after switching on the oven, and finding that it simply wasn’t heating up. Were we doing something wrong? Was there a magical button on the control panel that we were stupidly failing to press? Everything else about the apartment had been perfect, so surely the issue lay with us?

A note to the host followed, seeking help and advice. This led to a visit by her to check it out, only to conclude that, yes, the oven was indeed broken. A technical repair visit would be required and, it being nearly Christmas, the visit could not be arranged before next week, after we have moved on to our next place.

Another first world problem! For a few days we would not be able to warm a pizza, or heat up a quiche. What would we do? Aghhh!

Thankfully, the host made a very prompt and kind gesture by way of apology. She informed us that, as a measure of goodwill, a substantial gift voucher was waiting for us behind the counter at local cake deli, Wish Upon a Cupcake.

We paid a visit there the next day and were impressed. My photos show some of the cakes available in the shop. They are all baked on the premises here in Watsonia, a suburb of Melbourne.

Here is the selection we chose with our gift voucher. We were very satisfied.

You see, despite the best of intentions, things just sometimes go wrong, and it really isn’t worth getting worked up about it. Most things can be resolved through prompt, effective service. Nearly everything can be made better with cake.

Even the little buddha in the apartment’s back garden seemed to approve.

So there you are – for Christmas time, a story to warm the heart. Even if it didn’t warm our kitchen.

This coming week, they’re forecasting temperatures rising to around 29C as we move out by the beach on Mornington Peninsula, where we’ll be joined by a wider group of family and friends in the lead-up to our Australian Christmas. Time for a feelgood song! Here’s Walking on Sunshine by Katrina & The Waves.

Categories
Bakes Desserts Recipes

Coffee and Walnut Cake

It’s a great pleasure to introduce our latest guest post this week on A Different Kitchen. My good friend, and master baker, Kelvin, shares with us his recipe for Coffee and Walnut Cake. He has treated me to a slice of this and I can confirm it is delicious, with a creamy coffee coating and a walnut crunch.

Hi, this is a cake that I have made a few times now. It has always been very popular with my family, and I have developed it to take account of their feedback. In particular, I have added more coffee cream filling to coat the top and sides of the cake (not just the middle), and more walnuts. This latest version was well-received at my wife’s birthday party recently. My little 3 year-old grand-daughter liked it a lot, having a second slice and asking for me to make her next birthday cake. A satisfied customer indeed!

Timings

15 mins to prepare, and around 40 mins to bake.

Servings

I used a 24cm diameter size baking tin, enough for around 16 generous slices.

You Will Need

For the Cake

  • 225g softened butter
  • 225g caster sugar
  • 4 eggs
  • 275g self-raising flour
  • 1 teaspoon (tsp) baking powder
  • 4 tablespoons (tbs) milk
  • 2 tsp vanilla essence
  • 80g walnuts (chopped)
  • 1 tbs instant coffee granules with 1 tbs boiled water

For the Filling

  • 150g softened butter
  • 400g icing sugar (sifted through a mesh sieve)
  • 4tsp milk
  • 2tsp instant coffee granules with 2tsp boiled water
  • 50g walnuts halved for decorating the top of the cake.

Method

For the Cake

  1. Grease cake tin with a thin layer of butter and pre-heat a fan oven to 160C.
  2. Beat the eggs well in a cake bowl until fluffy. Add butter, sugar, finely chopped walnuts, flour, baking powder, milk and vanilla essence. Dissolve the coffee granules in the boiled water, and add to the bowl once cooled. Mix well.
  3. Spread mixture evenly into the cake tin.
  4. Bake until ready in oven for 30/40 mins. Check to make sure it is no longer moist inside.

For the Filling

  1. Beat softened butter and gently add filtered icing sugar (and when all icing sugar added) add milk. Dissolve the coffee granules in 2tsp water, and add when cooled. Beat together until smooth.
  2. After the cake has cooled, cut it into half. Inside one half thinly spread filling. Place other half on top and cover with the remainder of the filling and around the sides (as shown in the photo).  
  3. Finish by decorating halved walnuts over icing on top of cake.
  4. Keep in the fridge to harden the icing.
  5. Take out of the fridge 30 mins before serving.
  6. Slices can be frozen to retain freshness.

My choice of musical track for adding to Kevin’s ADK Playlist is The Sounds of Silence by Simon and Garfunkel. I particularly like this version, recorded live. The wonderful harmonies, the lyrics and the simple accompaniment on acoustic guitar combine to make this a favourite song of mine.